- Updated:


Send an order confirmation email
In this tutorial, you will learn how to create an order confirmation email template and set up a workflow to keep buyers engaged. You will also learn which nopCommerce order data are compatible with the Sendinblue platform.
Before getting started
You will need the following:
- Sendinblue account credentials. If you don't have one, sign up for free.
- Make sure that Sendinblue New Template Language for emails is enabled in your account.
- Follow these steps to set up the Sendinblue plugin.
Create the order confirmation email template
First, log in to your Sendinblue account, then go to the Automation platform > Email Templates. Click the New Template button in the top right.
The email template can be personalized with several types of data:
Personalize your email with contact attributes
Let's start by personalizing with contact attributes.
In the example below, we have included personalization of:
- the recipient's first name using
{{ contact.FIRSTNAME }} - the recipient's last name using
{{ contact.LASTNAME }}
Note
FIRSTNAME and LASTNAME should be existing attributes in your Sendinblue account.
Personalize your email with the order details
The following variables can be included directly within your Sendinblue template content:
| Order data | Shipping address data | Billing address data |
|---|---|---|
| {{ params.url }} | {{ params.shipping_address.firstname }} | {{ params.billing_address.firstname }} |
| {{ params.currency }} | {{ params.shipping_address.lastname }} | {{ params.billing_address.lastname }} |
| {{ params.date }} | {{ params.shipping_address.company }} | {{ params.billing_address.company }} |
| {{ params.discount }} | {{ params.shipping_address.phone }} | {{ params.billing_address.phone }} |
| {{ params.id }} | {{ params.shipping_address.address1 }} | {{ params.billing_address.address1 }} |
| {{ params.revenue }} | {{ params.shipping_address.address2 }} | {{ params.billing_address.address2 }} |
| {{ params.shipping }} | {{ params.shipping_address.city }} | {{ params.billing_address.city }} |
| {{ params.subtotal }} | {{ params.shipping_address.country }} | {{ params.billing_address.country }} |
| {{ params.tax }} | {{ params.shipping_address.state }} | {{ params.billing_address.state }} |
| {{ params.total_before_tax }} | {{ params.shipping_address.zipcode }} | {{ params.billing_address.zipcode }} |
In the Drag & Drop Editor, select your desired block that will display the order information, then add your variables.
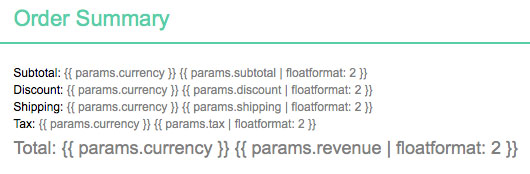
We recommend formatting numbers using floatformat. In the example below, we have added:
{{ params.currency | floatformat: 2 }}- the currency of the order{{ params.subtotal | floatformat: 2 }}- the subtotal of the order{{ params.discount | floatformat: 2 }}- the discount of the order{{ params.total | floatformat: 2 }}- the total of the order
Now let's personalize the email template with ordered items. To do so, we're using the New Template Language to insert a dynamic list.
Personalize your email with the ordered items details
The following variables can be included directly from a dynamic list within your Sendinblue template content:
| Items data | Insert this placeholder in your template |
|---|---|
| Name | {{ item.name }} |
| SKU | {{ item.sku }} |
| Category | {{ item.category }} |
| ID | {{ item.id }} |
| ID of the item variation | {{ item.variant_id }} |
| Name of the item variation | {{ item.variant_name }} |
| Price | {{ item.price }} |
| Quantity | {{ item.quantity }} |
| Storefront link to the purchased item | {{ item.url }} |
| Image | {{ item.image }} |
In the Drag & Drop Editor, select your desired block that will display the ordered items.
- Click the pencil icon to edit the settings for the design block.
- Enable the dynamic list option.
- In the parameter field, type
items. - In the variable field, type
item. - Set the limit for the number of items that will be displayed. For example, if there are 5 items, and you set 3 as the limit, only 3 items will be shown in the email.
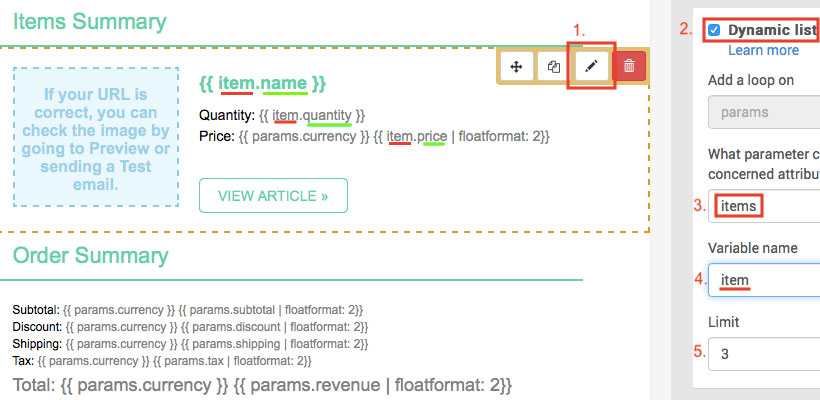
Now add the variables to your email template. In the example above, we have added:
{{ item.name }}- the name of the item{{ item.quantity }}- the quantity of the item{{ item.price | floatformat: 2 }}- the price of the item
To add the link to the item, select the Call-To-Action (CTA) button. On the right sidebar, under Link, type {{ item.url }}.

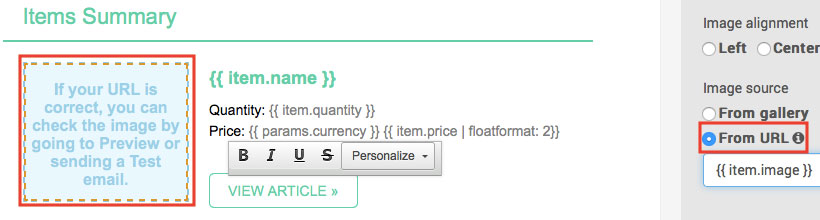
To add the image of the item, select the image. On the right sidebar, under Image source, choose From URL, then type {{ item.image }}.
Once your design is complete, click the green Save & Quit button. Then click the Save & Activate button.
Creating the order confirmation workflow
Note
A customer has to be identified by their email address to trigger the workflow, that is, a customer should be logged in to their account on your nopCommerce store or enter their email address during checkout.
Navigate to the Automation tab of your Sendinblue account.
Click + CREATE A NEW WORKFLOW, then select Product Purchase and follow the steps.
Step 1/3 — An event happens
- Select Custom Event (Track Event).
- Type
order_completed. - Click NEXT.
Step 2/3 — Add a delay
- Choose a delay. For example, 5 seconds.
- Click NEXT.
Step 3/3 — Send an email
- From the dropdown list, select the email template you have just created and activated.
- Select Use my event data to customize the email.
- Select The event data which triggered the workflow.
- Click FINISH.
When your workflow is complete, click DONE to save and activate it.
Example
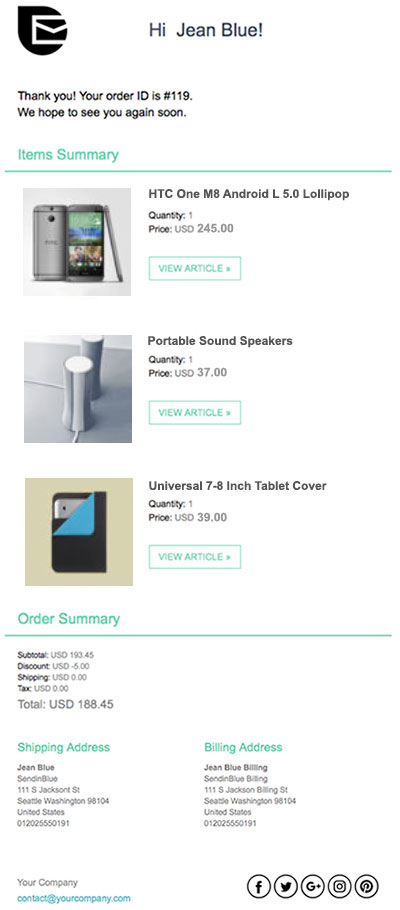
Let's say that customer Jean Blue [email protected] has purchased the following 3 items from your store.
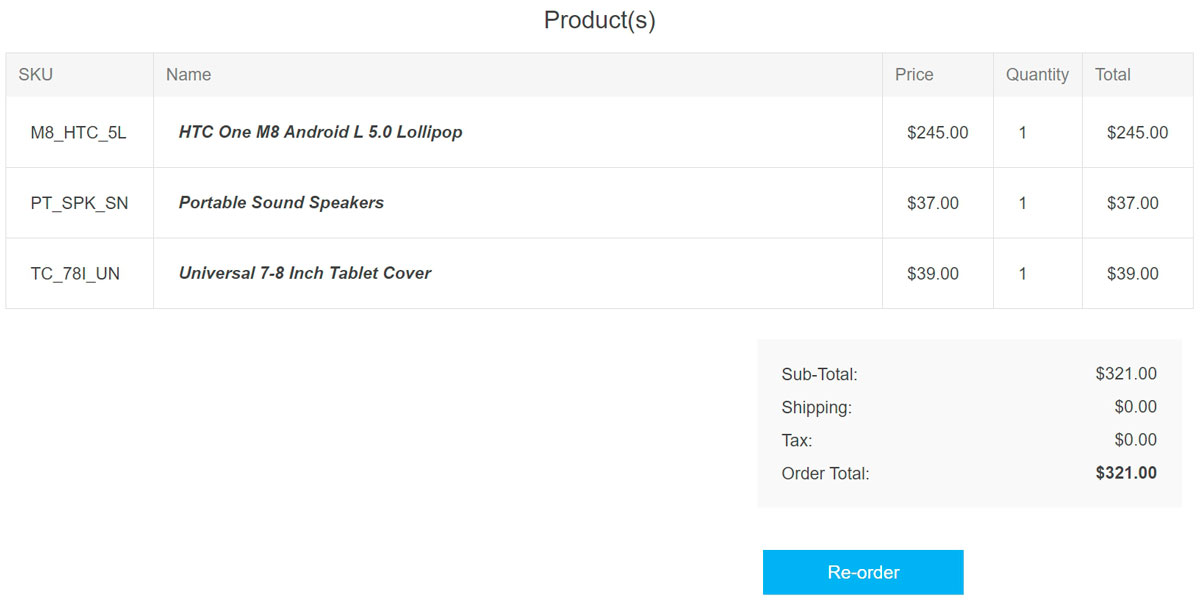
Your template will look like this:
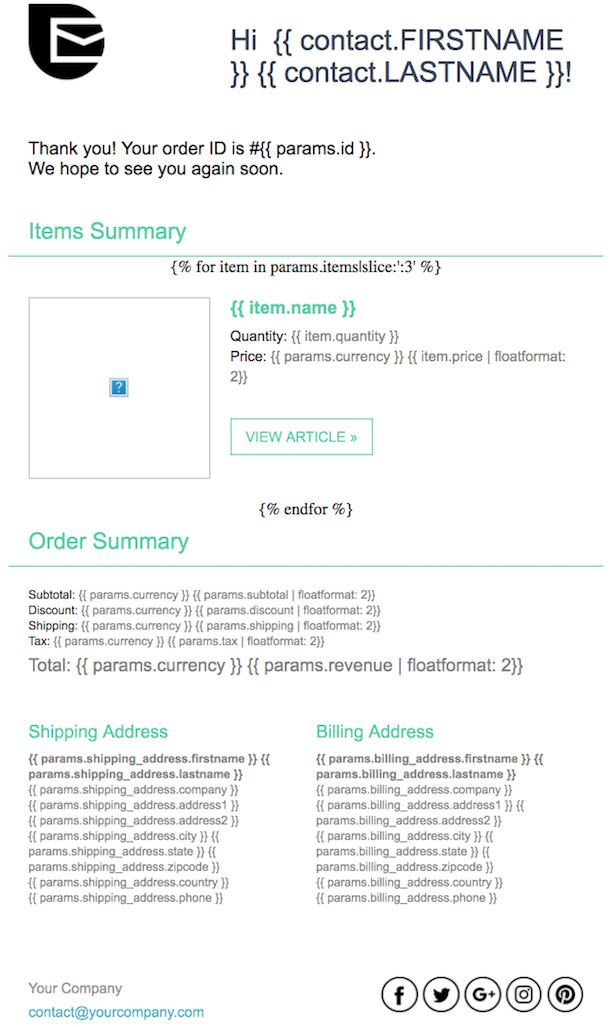
The email received by Jean Blue at [email protected] will look like this: