- Updated:


Check/money order
Check/money orders are often used by government agencies or large businesses. Rather than paying directly through your site, shoppers will request that you send them a Purchase order (PO), and they will send the payment back. Most of the order processing is handled outside of the software.
To configure this payment method, go to Configuration → Payment methods. Find the Check/money order (Payments.CheckMoneyOrder) payment method list:

Activate the method, edit its name, and display order
You can edit the payment method name, which will be displayed for customers in the public store, or its display order. To do this, click the Edit button in the plugin row on the payment method list page. You will be able to enter Friendly name and Display order. In this row, you can also activate the plugin or make it inactive using the Is active field. Click the Update button. Your changes will be saved.
Configure the payment method
On the Configuration → Payment methods page, find the Check/money order (Payments.CheckMoneyOrder) payment method and click the Configure button. The Configure - Check/money order window will be displayed as follows:
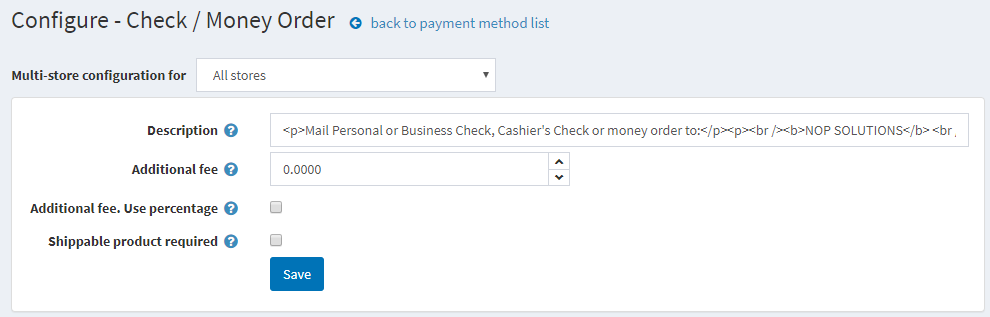
Set up the payment method as follows:
- In the Description field, enter the info that will be shown to customers during checkout.
- Define the Additional fee for using this method.
- In the Additional fee. Use percentage field, define whether to apply an additional percentage fee to the order total. If not enabled, a fixed value is used.
- The Shippable product is required field indicates whether shippable products are required in order to display this payment method during checkout.
Click Save.
Limit to stores and customer roles
You can limit any payment method to store and customer role. This means that the method will be available to certain stores or customer roles only. You can do this from the plugin list page.
Go to Configuration → Local plugins. Find the plugin you want to limit. In our case, it's Check/money order. To find it faster, use the Search panel at the top of the page and search by Plugin name or Group using the Payment methods option.
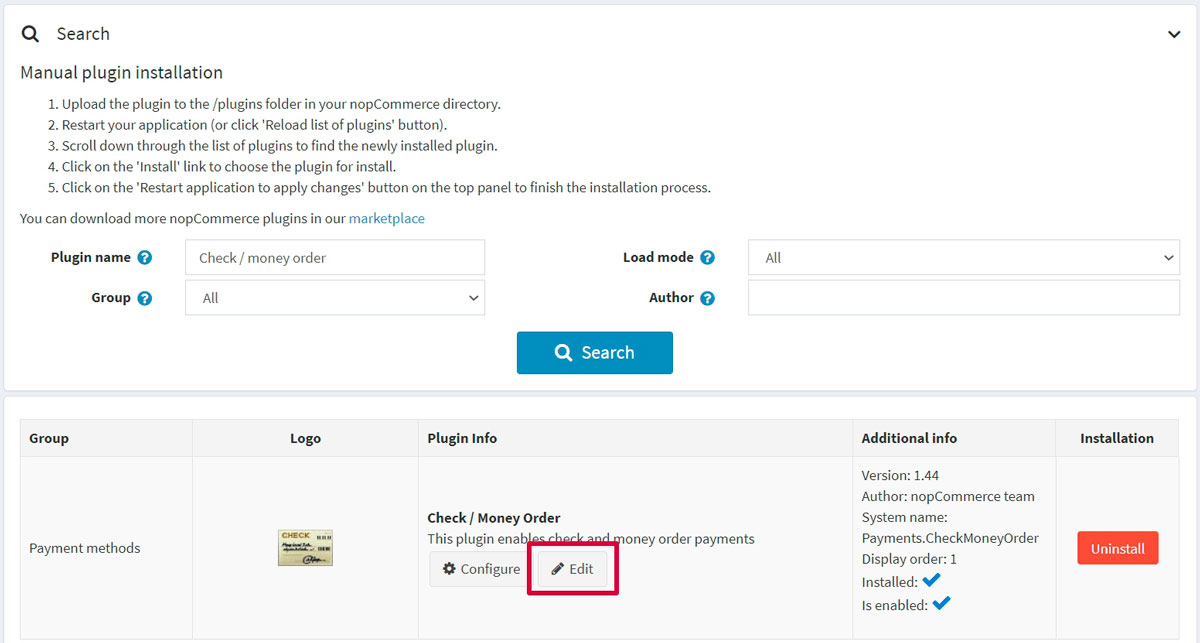
Click the Edit button, and the Edit plugin details window will be displayed as follows:

You can set up the following limits:
In the Limited to customer roles field, choose one or several customer roles, that is, administrators, vendors, guests, who will be able to use this plugin. If you don't need this option just leave this field empty.
Important
In order to use this functionality, you have to disable the following setting: Catalog settings → Ignore ACL rules (sitewide). Read more about the access control list here.
Use the Limited to stores option to limit this plugin to a certain store. If you have multiple stores, choose one or several from the list. If you don't use this option, just leave this field empty.
Important
In order to use this functionality, you have to disable the following setting: Catalog settings → Ignore "limit per store" rules (sitewide). Read more about multi-store functionality here.
Click Save.