- Updated:


Google analytics plugin
This section describes how to add and integrate the Google analytics plugin into your store.
To configure the Google analytics plugin:
Go to Configuration → Widgets. The Widgets window will be displayed:
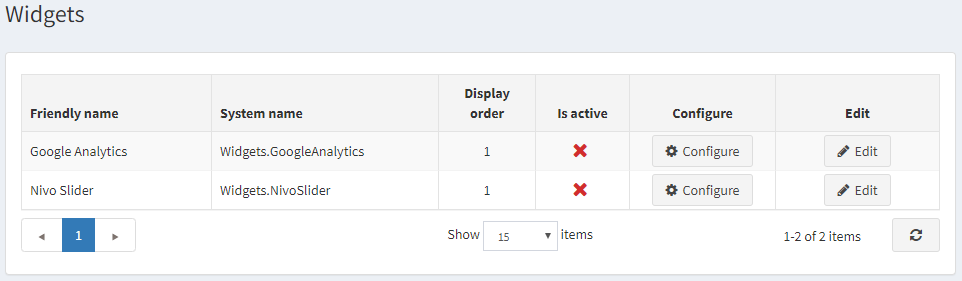
Activate the plugin
Click Edit beside Google analytics. The window will be expanded as follows:

Select the Is active checkbox to enable the Google analytics plugin. Then click the Update button to save the changes.
Configure the plugin
Click Configure beside Google analytics. The Configure – Google analytics window will be displayed as follows:
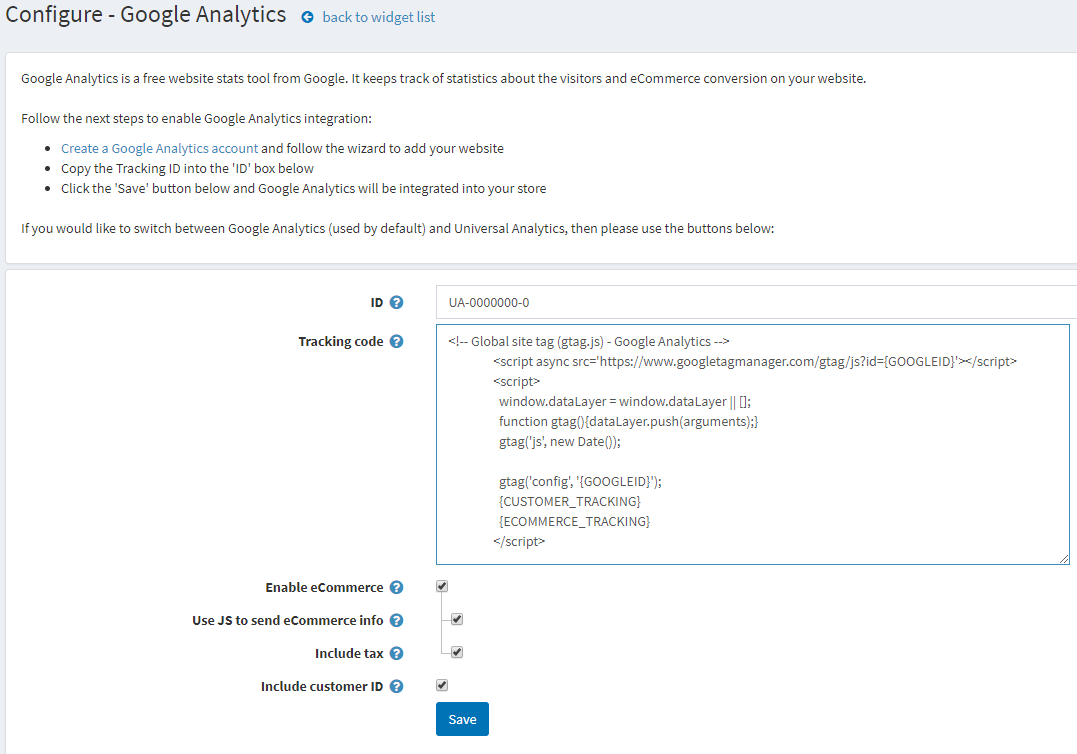
Perform the following steps to enable Google analytics integration:
- Create a Google analytics account following the link http://www.google.com/analytics/ and follow the wizard to add your website
- Copy the Google analytics ID into the ID box in the form.
- Enter the Tracking code generated by Google Analytics. {GOOGLEID} and {CUSTOMER_TRACKING} will be dynamically replaced.
- Select the Enable eCommerce checkbox to pass information about orders to the Google eCommerce feature. If selected, the following fields will be displayed:
- Select Use JS to send eCommerce info to use JS code to send e-commerce info from the order completed page. In the case of redirection payment methods, some customers may skip it. Otherwise, e-commerce information will be sent using an HTTP request. Information is sent each time an order is paid, but UTM is not supported in this mode.
- Select Include tax to include tax when generating tracking code for e-commerce part.
- Select the Include customer ID checkbox to include customer identifier to the script.
Click Save. Google Analytics will be integrated into your store.